Installing SQL Server 2017 Express
Download the SQL Server 2017 Express
installer by clicking this link.
The installer will automatically begin to download. (The installer
file is approximately 280 megabytes and may take a few moments to
download).
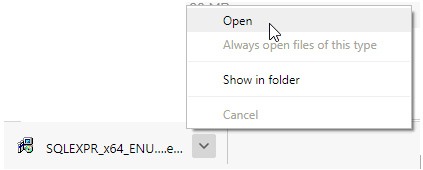
Follow the steps in your web browser
to open the installation file. If prompted, allow the application
to run:
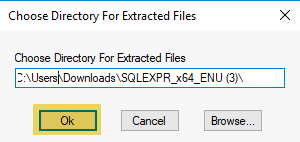
- Click OK to the Choose
Directory for Extracted Files prompt:
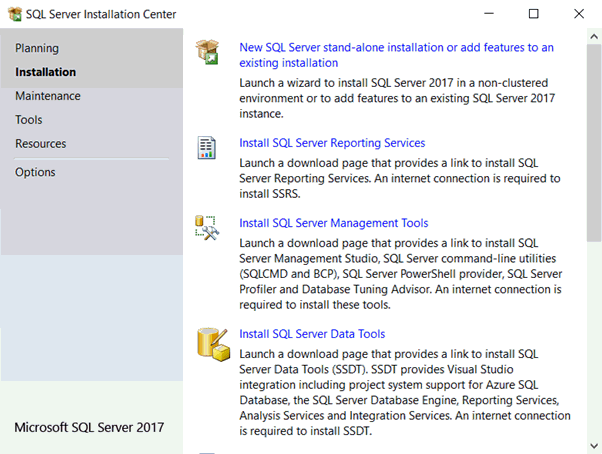
The installation files are extracted:

- Click the top link, New SQL Server
stand-alone installation or add features to an existing installation.
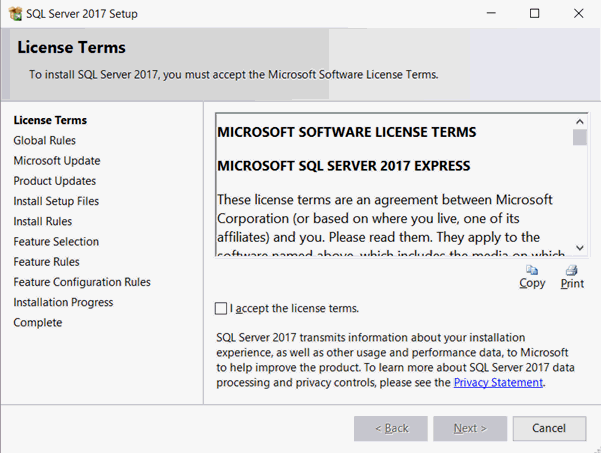
- Accept the license terms and click Next.
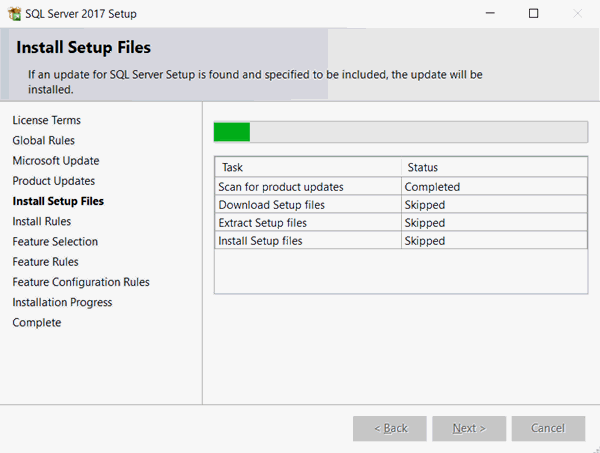
- Click Next once the SQL
Installer has completed the Install Rules and checks. The SQL installer
will check for product updates and automatically download any additional
files needed.
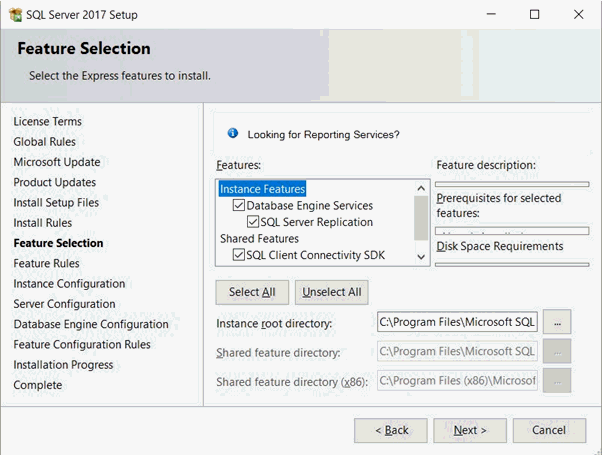
- Verify that the Instance Features and Shared Features options are
selected and click Next.
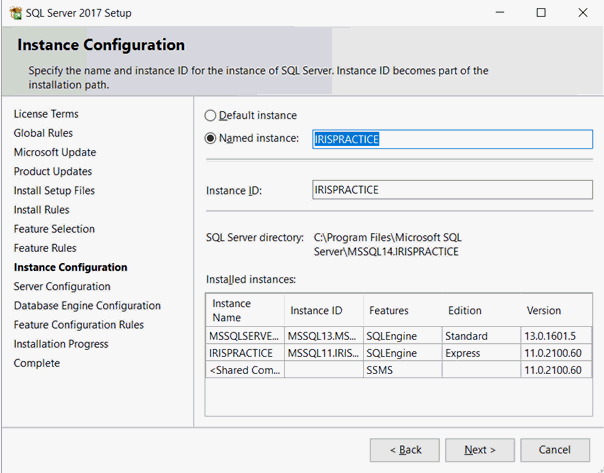
- Verify that Named Instance
is selected and then enter a name . Ensure Instance ID is IRISPRACTICE
then click Next.
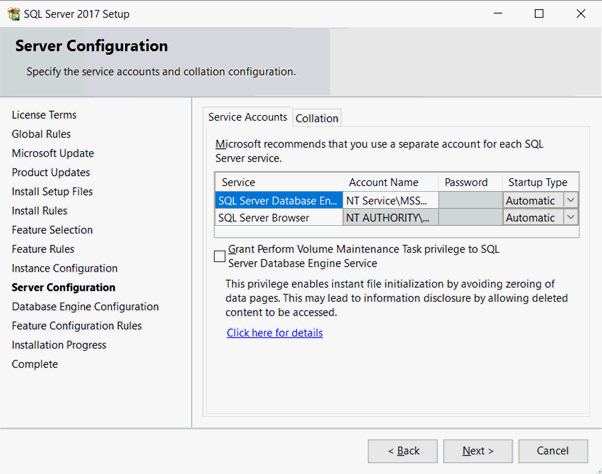
- Leave the default settings on the Server Configuration screen and
click Next.
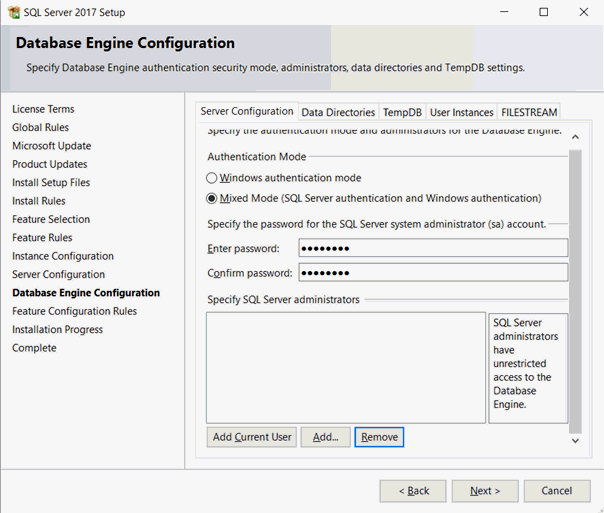
- Select the option for Mixed Mode
(SQL Server authentication
and Windows authentication). Enter a password for your database
instance and Confirm password.
Please, write down your password and keep it somewhere important.
Then, click Next.
SQL Server 2017 will now be installed.
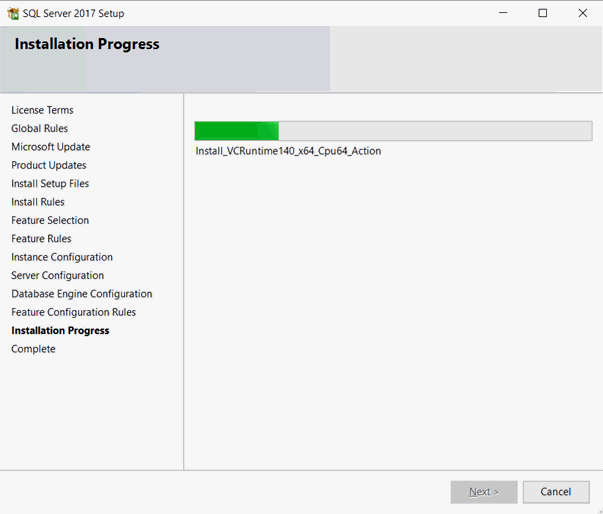
- If you are notified that a computer restart is required, click
OK.

- Click Close on the Completion
screen. SQL Server 2017 is now installed.
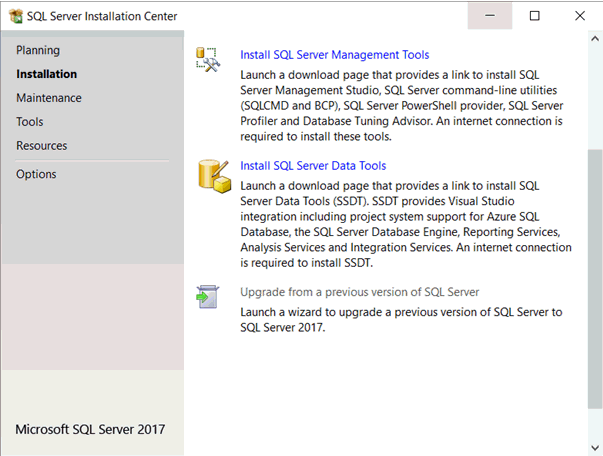
- Go back to the SQL Server Installation Center and select the options
to Install SQL Server Management
Tools or go to:
https://docs.microsoft.com/en-us/sql/ssms/download-sql-server- management-studio-ssms?view=sql-server-2017
- Select the link Download
SQL Server Management Studio 17.8.1 (no previous version of SSMS
17.x is required on the computer).
- Download the file
 and click to run it
on your PC.
- Once the installer launches, click the Install button:
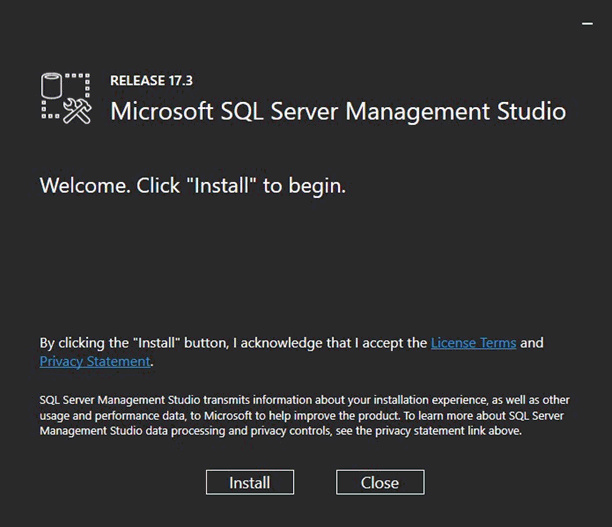
Once finished it displayed a Setup Completed message.


 and click to run it
on your PC.