How to install IRIS Accountancy Suite
Introduction
This topic runs through the process of installing the IRIS Accountancy
Suite once you have downloaded the installer file from the website.
- Double-click the IRIS Installer
download file.
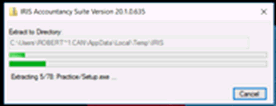
- The installer extracts after double-clicking on the file:
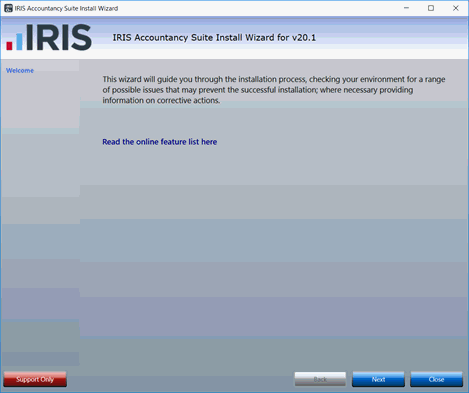
- Click Next to perform the
first checks.
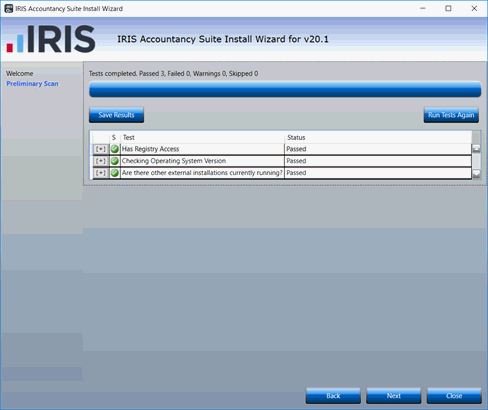
- If all the checks are green, click Next
to continue.
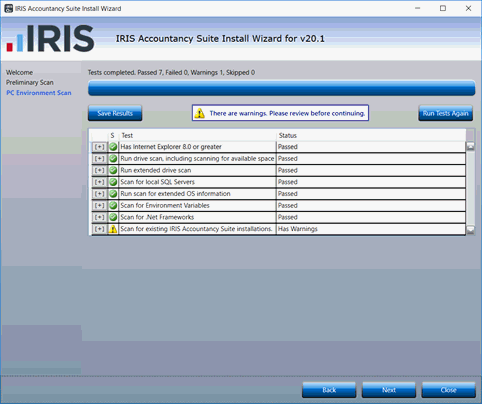
The next screen checks to ensure your system
meets our system requirements.
- Click Next to continue.
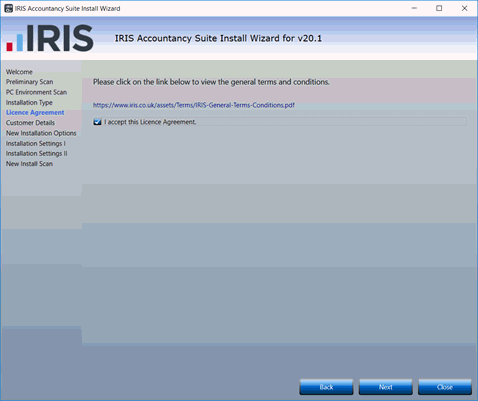
- Accept the licence agreement and click Next.
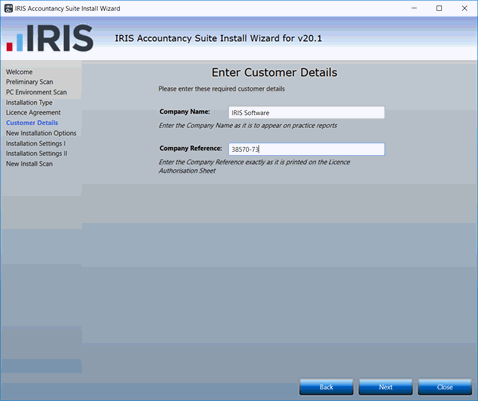
- Enter the Company name
and Company Reference. Click
Next to continue.
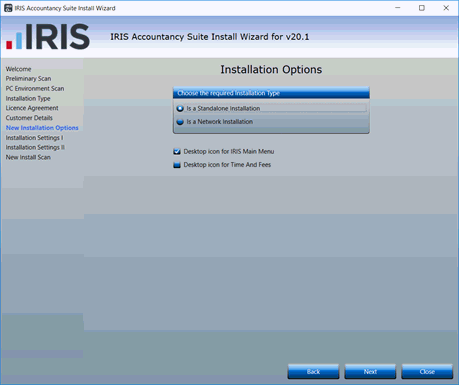
- Select the Standalone or
Networked option appropriate
to the installation and click Next
to continue.
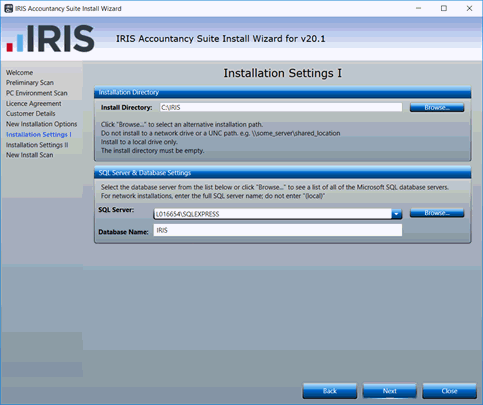
- If you are happy with the folder location click Next
otherwise click Browse to
amend the location. Select the correct SQL
Server.
- Click Next to continue.
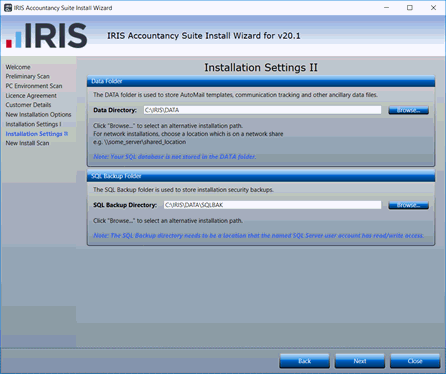
- Click Next to continue.
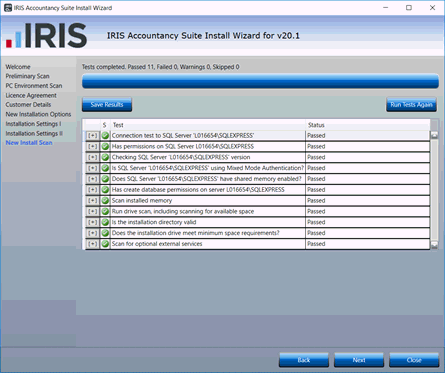
Click Next
to continue.
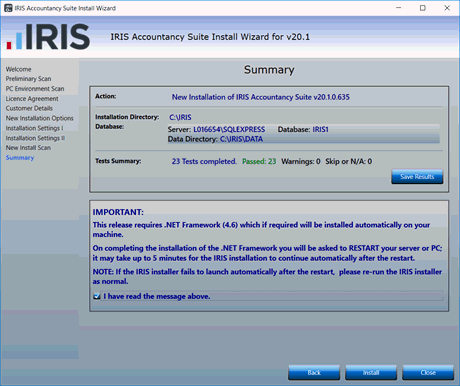
- Click to agree the prompt then click Install
to start the IRIS installation.
The Installer will now progress through a
number of screens. This will take a few minutes and no action is required.
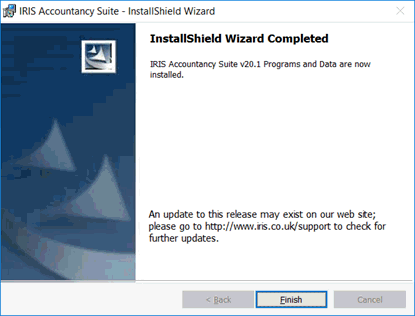
- Click Finish to exit the
Installer.
