 |
 |
In some cases, not all versions of .NET Framework are install during the setup of Windows Server 2012; this will prevent the installation of SQL Server.
When trying to install .NET manually, the following message displays:
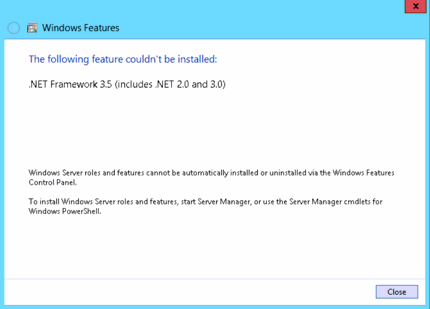
To resolve this use the Server Manager to add features to the .NET Framework installation.
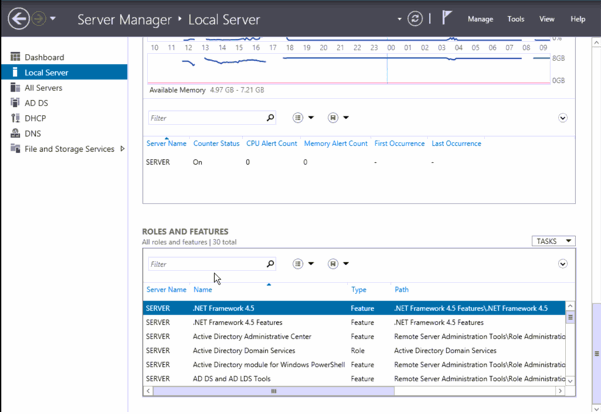

Read through the ‘Before you begin’ screen and when ready click Next.
On the next screen, select the Role-based or feature-based installation option and click Next.

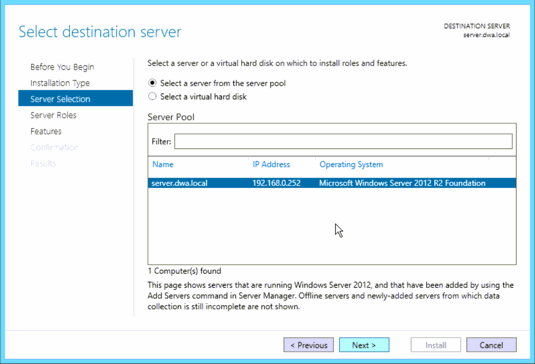
From the Server Roles screen choose any extra roles to install. For the purpose of installing .NET 3.5, select Features in the left-hand pane.
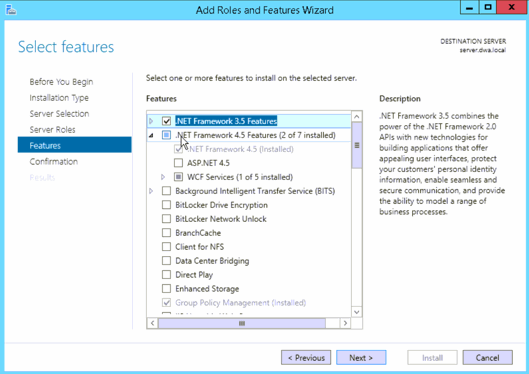
A list of features displays. Select .NET Framework 3.5 Features and click Next.
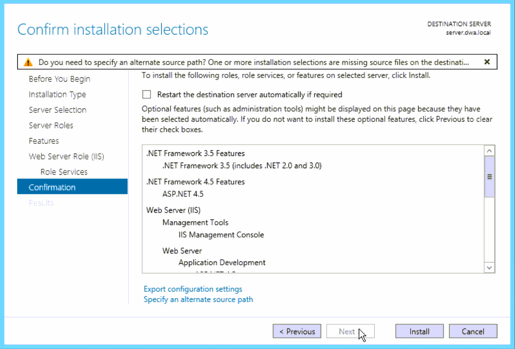
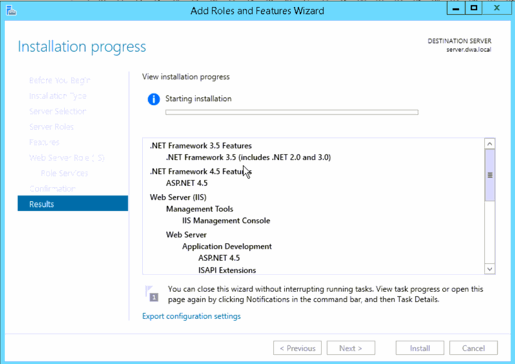
The installation screen displays showing the progress.
Click Close. With .NET fully installed start the installation of SQL Server.
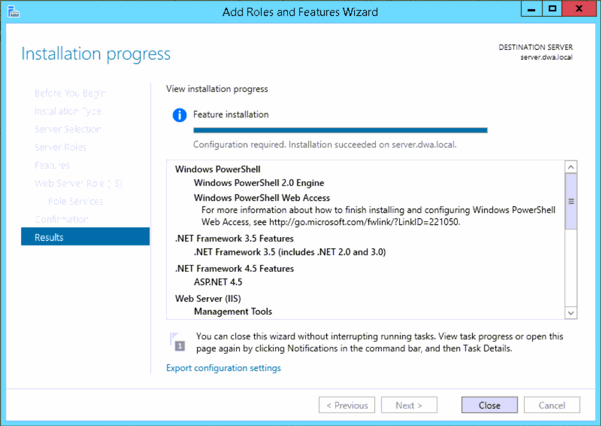
Additional features were installed on the server used in this example.