 |
 |
To open an e-Checklist, select a client and click e-Checklist:

This will display a list of e-Checklists. Select the e-Checklist for
the tax year that needs completing. This will open the e-Checklist.
Each e-Checklist will display a status:
Not Started – this indicates that none of the questions in the e-Checklist have been answered yet.
In Progress – this indicates that one or more questions have been answered.
Finalised – this indicates that the e-Checklist has been completed and sent back to the accountant.
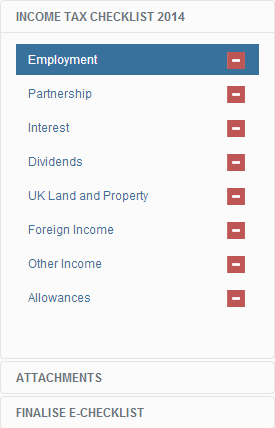
Navigate through the sections by selecting them in the left-hand menu
For example, Employment, or use the Next/Previous options.

You can hide the navigation menu by clicking Menu.
This is particularly useful if you have a small screen as you can hide
the menu to make additional room for the questions on the right-hand side.
Once a question has been answered, select Mark as answered; the progress of the e-Checklist can now be tracked.
Once you have marked all questions within a section as complete, the
status for the section will be updated.
The statuses for sections are:
Not Started – this indicates that none of the questions within the section have been answered yet.
In Progress – this indicates that one or more questions within the section have been answered.
Complete – this indicates that the all of the questions within the section have been marked as answered.
Documents can be attached to an e-Checklist; for example, a scanned in copy of the client’s P60.
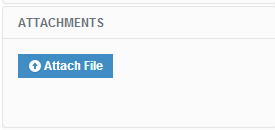
To attach files, click Attachments
from the left-hand menu, then click Attach
File.

Browse for a file which is stored locally or select from a list of files
which have already been uploaded to IRIS OpenSpace for the client.
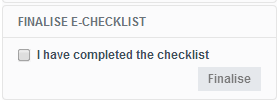
Once all of the questions have been answered and the client is ready
to return the e-Checklist back to the accountant, click Finalise.

This will send an automatic email notification to the accountant, indicating that the e–Checklist has been completed.
Once an e-Checklist has been finalised, no further changes can be made.