|
 |
|
|
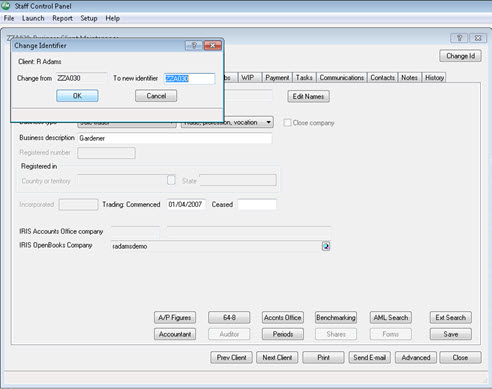
The system will automatically synchronise the two databases together at
a pre-set time or you can use the shortcut added to your desktop to do
it manually.
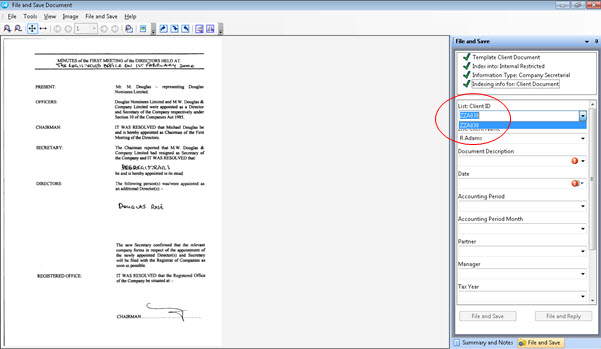
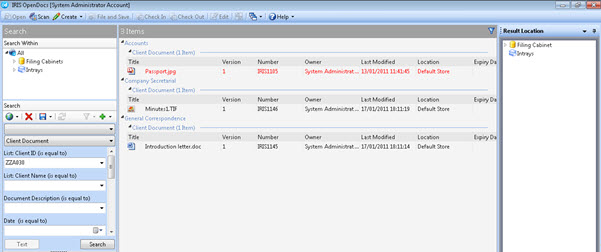
When the ID has been changed within IRIS and the information has passed into IRIS Docs then documents can be stored with either ID and can also be searched on with either ID, both will link to the same client name, the screen shot below shows the screens when the client name has been selected (both references will appear).
If you’ve decided to change the client ID for whatever reason then you
may wish to move existing documents stored with the old ID to the new
ID.
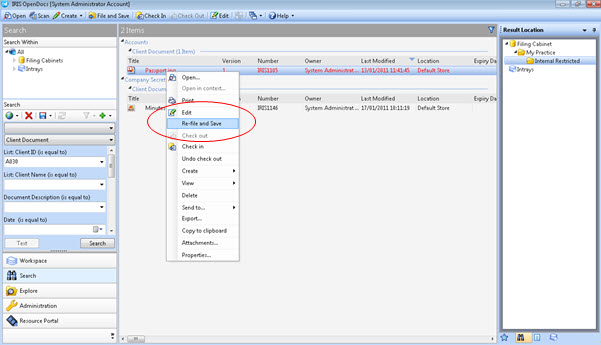
To do this you need to re-file and save these documents.
Search for documents stored with the old ID.
Select each information type and right-click on the documents.
The re-file and save option displays. Select the new client ID and store them accordingly. This needs to be done for each information type.
When all of the documents have been moved, when searching, documents will
only appear against the new client ID.
If the old client ID is no longer needed then it needs to be removed from the client ID fixed list.
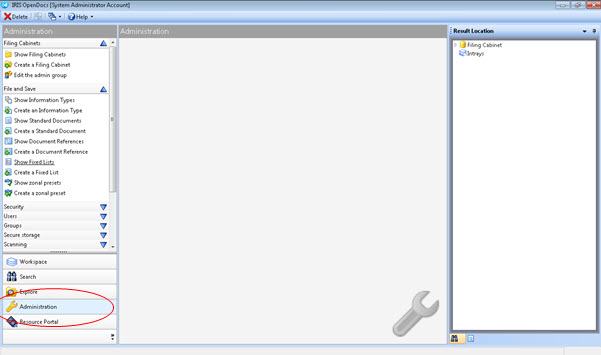
Select the file and save menu and finally the Show Fixed Lists.
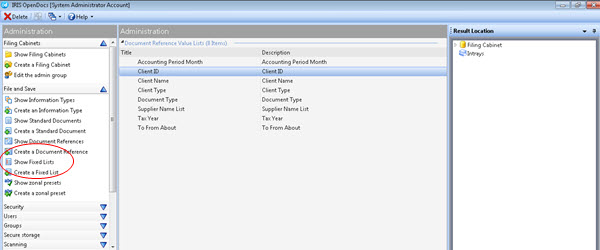
From those fixed lists select the Client ID list.
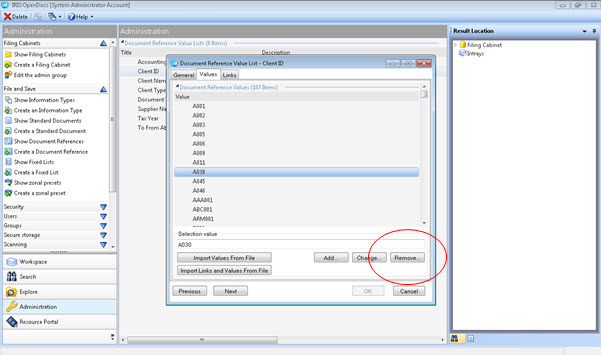
Find the item you want to remove from the fixed list, highlight and click Remove.
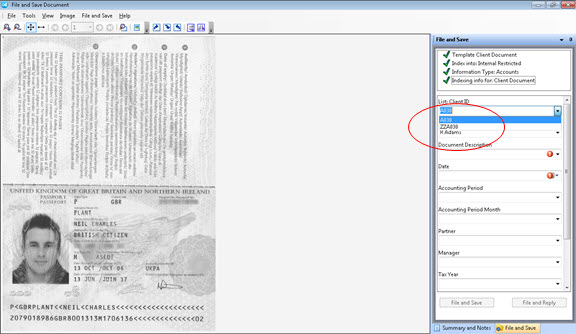
Having completed the exercise to remove the client ID you can now re run your search only the one Client ID would appear (as below).