 |
 |
The home feature is the first screen that a user sees when they first
sign into IRIS Elements. It provides quick and easy access to information
relating to your practice, news and help guides.
Home has four different widgets:
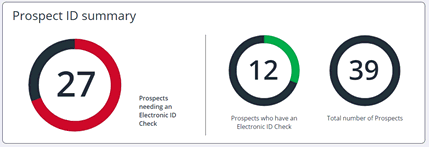
This widget has three 'doughnuts' that provides information about how many prospects you have without an electronic ID check and, prospects who have electronic ID check and the total number of prospects you have:
This widget gives you information about the risk profile associated with the ID check.
There is a total of prospects and clients provided at the bottom left of the widget. Tthe doughnut next to it is the number of prospects and clients with no risk profile.
The three remaining doughnuts show the of number of either clients or prospects with Hight risk, normal risk and low risk:

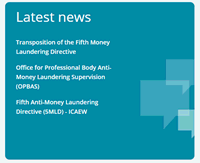
Links to issues related to money laundering that you might be interested in reading:
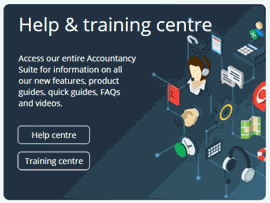
We created this widget to give you help in case its needed. The first link takes you to the IRIS Help Centre. The second, to the IRIS Training Centre where you will find a selection of courses:
You can get to the risk assessment page by clicking on the Client/Prospect you want.
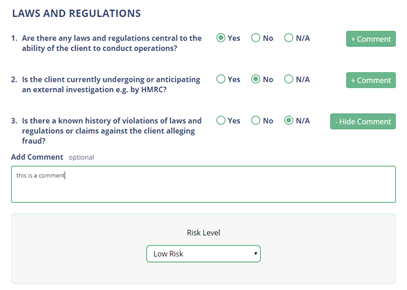
On the top tab you can see the risk assessment page. The risk assessment page will help you assess the risk with the client/prospect through several mandatory sections of questions.
Each question you can answer by Yes, No or N/A, in case you felt a question might need some more explanation you can simply click on the +Comment to type in notes about the question in hand.
After each section you will be able to choose the risk level for that section; low, normal or high.
At the end of the risk assessment you will have to choose the overall risk for that client / prospect.
You can at any point, scroll down and Save the risk assessment and come back to it again later.
After completing all questions selection each sections risk level and selecting the overall risk level you can either approve or reject the client or prospect risk assessment.
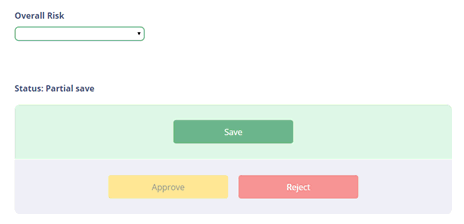
Approve permission will be able to approve or reject any overall risk levels.
A Check permission will be able to reject any overall risk level but approve only low and normal overall risk level but not able to approve high-risk over-all risk assessment that would only be approved by an Approve permission.
If a prospect been approved, you will be able to convert them to be a client.

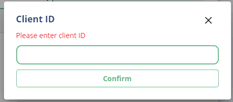
You can at this point enter the Client ID and after confirming the prospect will be no longer in the prospect list, but in the client one:
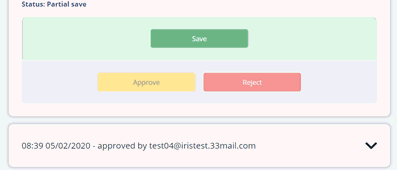
After you Approve/Reject a client/Prospect you will get a next date to review date you can set that to your convenience.
After completing a risk assessment, you can view old risk assessments for prospects/clients if they were available by scrolling down to the end of the risk assessment page, boxes with date, time and user stamps once clicked on you will be able to view questions and what was the answers and the risk level selected that led to the overall risk and the final approval or rejection.
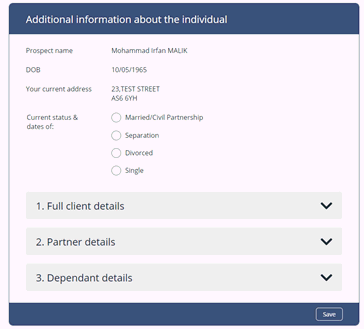
The aim of this page is to help collect different information about your prospect/client.
All the questions in the KYC page are non-mandatory so you are free to fill whatever you find necessary.
You will be presented in 2 different top sections depending on the type of prospect / client, if you have an individual, the questions are tailored to get information that are aimed at a person.
If the prospect/client is a business the questions you will questions as so.
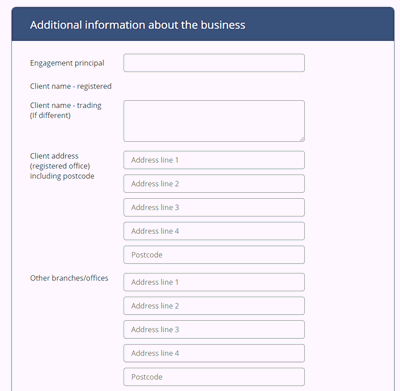
At the bottom of the KYC page you will get the KYC Checklist that you can either just scroll down to see it or simply click on the button on the top right of the page:

The KYC Checklist is the same if the prospect/client is a business or an individual with 3 sections of questions where you can answer with Yes, No, N/A and add a comment in case its needed:
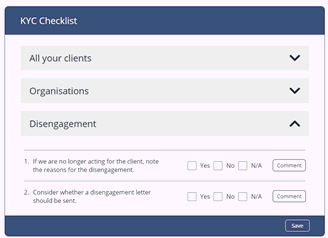
A Save button is located at the bottom right to save all the information in the KYC page and can be accessed at any time by visiting the KYC page for the prospect/client.