 |
 |
|
|
In this Topic Hide
Select the client.
Select Reports | Annual, this will take you to the Financial Statements - Annual Report Output screen.
Select the word
processor option and select the Details
option to the right.
The following screen displays.
The Word Processor field needs to be filled with your choice, so click on the down arrow and select MS WORD 2000 or later.
Click OK.
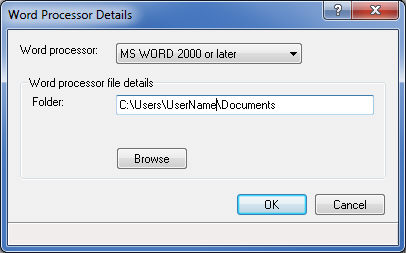
The Folder field in this screen
is set to my documents as default. To save the file to a different
location click on Browse to
find another folder.
The Financial Statements screen displays again, enter the report to be send to the word processor, for example, LTD or PSA, in the Report / Document field and complete other field options as required.
Click OK.
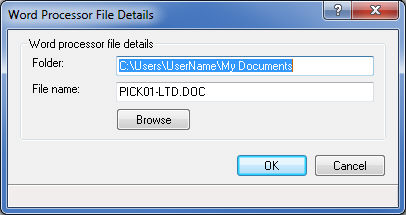
The following screen displays to confirm the folder and file name for
the document. To change the Folder location click Browse.
To change the File name
type the new name.
Click OK.
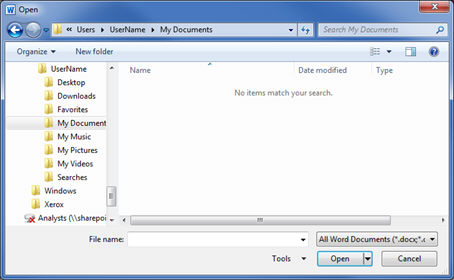
Open MS WORD.
Select File | Open
Navigate to the
folder specified above. Select the file to
open (if you can not see it, make sure the All Word Documents (*.Docx, .....) is selected.
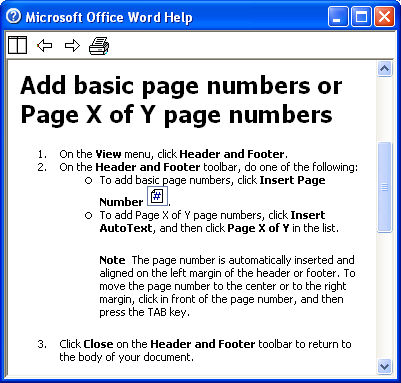
You now have a text copy of the original IRIS document. Make adjustments
to the document as required - use the MS
Word Help option to
guide you through.
To insert a new page:
Go to the section of the report where you wish to insert a page.
Select the Page Layout ribbon. From the Page Setup group select Breaks | Section Break, Next Page.
The page numbers are held within the footer of each page.
To amend the page numbers, go to Insert in the ribbon.
From the Header & Footer group, click the Footer icon and select Edit Footer (near the bottom of the list).
After making amendments to the Word document it is possible the page numbering may be incorrect, for example, successive pages have the same number. This is because 'Page breaks' have been used instead of 'Section breaks'.
This can be amended as follows:
........................................Page Break..........................................
or
::::::::::::::::::::::::::::::::Section Break (Next Page)::::::::::::::::::::::::::::::::
The Section Breaks on the document are correct, the Page Breaks need to be removed and replaced with Section Breaks.
Single click on the line where the dotted line Page Break.
Press the Delete key (not backspace which is above the Enter key). The Page Break line will disappear.
Select the Page Layout ribbon, from the Page Setup group select Breaks | Section Break, Next Page. A Section Break (Next Page) line will display.
Repeat this until all Page Breaks have been replaced with Section Breaks.
Change the view back to Print Layout, ( View | Print Layout). It will now be possible to change the page numbers using the footers. To do this, double click on the page number at the bottom of the page and amend the number.
If the following (or previous) page number changes as well as a result of changing the current page number, the 'Same as previous' option may be enabled.
To see if 'Same as previous' is enabled:
In edit footer mode, look to the top right-hand corner of the footer box.
If the footer shows 'Same as previous, click the 'Link to Previous' option on the Navigation group on the Header/Footer toolbar. This will then allow the pages to be changed independently.
If you would like additional assistance, please refer to the Help Topics supplied by Microsoft Word, found under File | Help, or online at https://office.microsoft.com/client/helppreview14.aspx?AssetId=HA010372690&lcid=2057&NS=WINWORD&Version=14&CTT=4&origin=EC001022724#BM2
The underlining of figures in MS WORD is actually one side of a border running round a box.
To create the underline effect:
Click on Table, then go to Table Tools | Layout and select Show Gridlines.
Put the cursor directly underneath the row of figures you wish to underline.
Select Insert | Table, then Insert Table, set the number of columns and rows to 1, click OK.
You now have an elongated box that can be shortened down by clicking on the ends and dragging to the desired length.
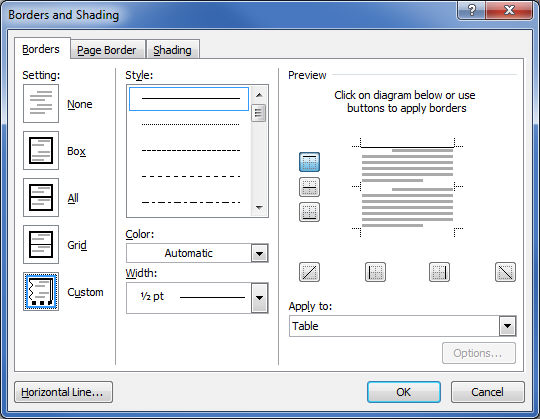
With the cursor inside the box you have created, go to Table Tools | Design, select the Borders option, select Double lines from the list under the Style.
Go to the Preview section and click on the diagram to apply the border to the top of the box, click OK.
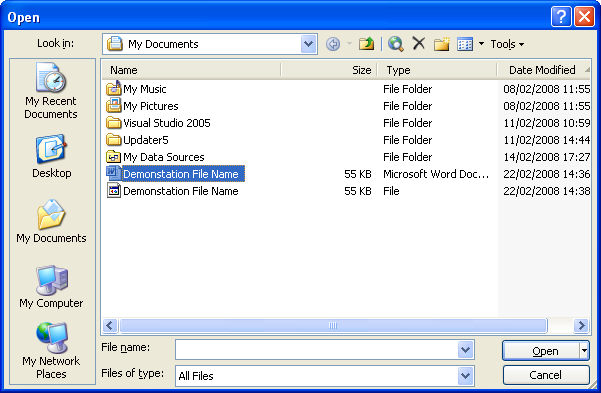
Open MS WORD.
Select File | Open.
Click the Look in: down arrow.
Select My
Documents. Select the file to open (if you can not see it,
make sure the Files of Type
field at the bottom of the screen has the All
Files choice).
You now have a text copy of the original IRIS document. Make adjustments to the document as required - use the MS Word Help option to guide you through.
To insert a new
page, go to the section of the report where you wish to insert a page,
select Insert | Break.
The pop up Break screen displays.
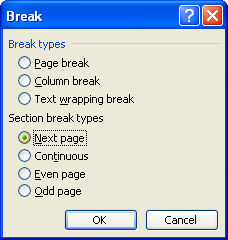
Click on the Section Break Types 'Next Page' option as in the example above.
Click OK.
A page has been inserted into the document.
The page numbers are held within the footer of each page.
To amend the page numbers:
After making amendments to the Word document it is possible the page numbering may be incorrect, for example, successive pages have the same number. This is because 'Page breaks' have been used instead of 'Section breaks'.
This can be amended as follows:
Within Word, go to View and select Normal, this will change the Page layout to show all the 'Page and Section breaks' as shown below:
........................................Page Break..........................................
or
::::::::::::::::::::::::::::::::Section Break (Next Page)::::::::::::::::::::::::::::::::
The Section Breaks on the document are correct, the Page Breaks need to be removed and replaced with Section Breaks.
To do this:
Single click on the line where the dotted line Page Break, press Delete (not backspace which is above the Enter key). The Page Break line will disappear.
Now go to Insert | Breaks and select Next Page in the Section Break Type section. A Section Break (Next Page) line displays.
Repeat this until all Page Breaks have been replaced with Section Breaks.
Change the view back to Print Layout, ( View | Print Layout).
It will now be possible to change the page numbers using the footers.
To do this:
Double-click on the page number at the bottom of the page and amend the number.
If the following (or previous) page number changes as well as a result of changing the current page number, the 'Same as previous' option may be enabled. To see if 'Same as previous' in enabled, look to the top right-hand corner of the footer box.
If the footer shows 'Same as previous, click the 'Link to Previous' option on the Header/Footer toolbar (the icon looks like two small pages next to each other with an arrow going from one to the other). This will then allow the pages to be changed independently.
If you would like additional assistance, please refer to the Help Topics supplied by Microsoft Word, found under Help | Microsoft Office Word Help.
The underlining of figures in MS WORD is actually one side of a border running round a box, to create the underline effect:
Click on Table, then Show Gridlines, if Hide Gridlines displays, the option is already applied.
Put the cursor directly underneath the row of figures you wish to underline.
Select Table, then Insert Table, this window should show Number of Columns 1 and Number of Rows 1, click OK.
You now have an elongated box that can be shortened down by clicking on the ends and dragging to the desired length.
With the cursor inside the box you have created, go to Format | Borders and Shading.
Select the Borders tab, select Double lines from the list under the Style.
Go to the Preview
section and click on the diagram to apply the border to the top of
the box, click OK.
