 |
 |
This topic explains how to create a set of accounts for a Pension client on the new EPEN enhanced chart available from version 11.9.
Click the links below to jump to a particular section:
Step 1 – Creating a Pension Client
Step 2 - Adding Client Involvements
Step 3 - How to amend/view import Map
Step 4 - Creating a new Post File
Step 5 - Generating a set of Accounts
 and select Standard.
Alternatively, from the menu, select Client
| New
and select Standard.
Alternatively, from the menu, select Client
| NewThe following screen displays.
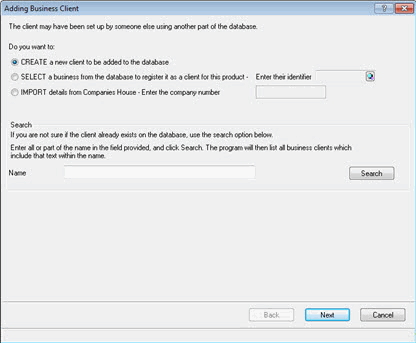
The following screen displays.
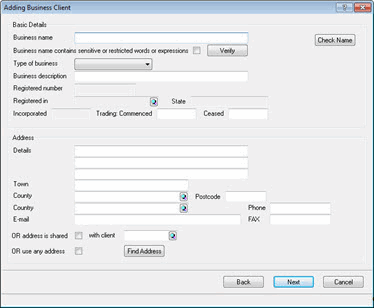
Complete the relevant fields in the Basic Detail section.
In the Type of business field click the drop-down arrow and select Other (this should only be used for Pension clients).
Complete the relevant fields in the Address section and click Next.
The following screen displays.
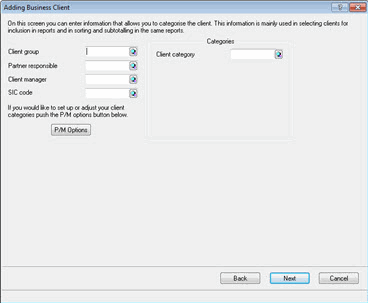
The following screen displays.
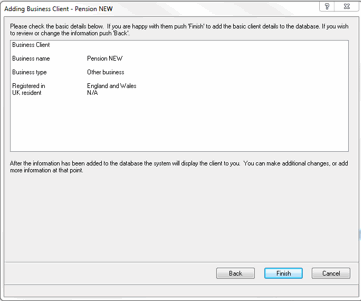
The following screen displays.
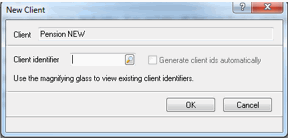
The following screen displays.
This option only appears if the IRIS Practice Management module is open.
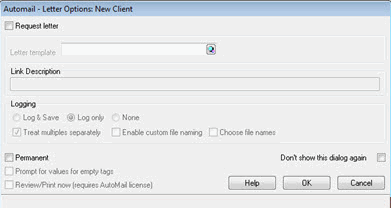
The following screen displays.

Click YES - to add an Officer.
Click NO – (An officer can be added at any point by selecting EDIT | OFFICER from the toolbar however it is recommended that an officer is setup at this stage).
Cancel - to exit the screen.
The following screen displays listing existing people within the database.
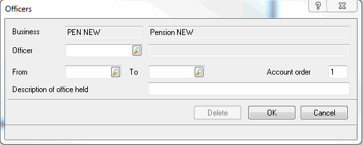
The following screen displays.
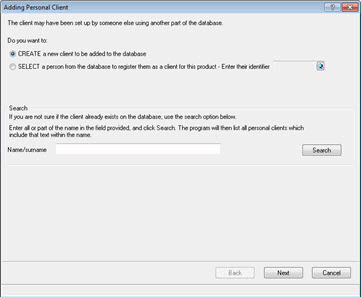
The following screen displays.
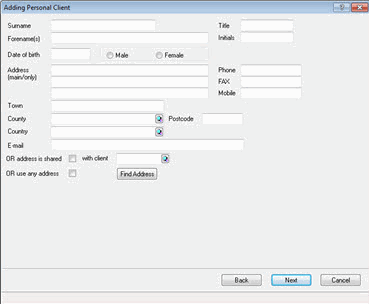
The following screen displays.
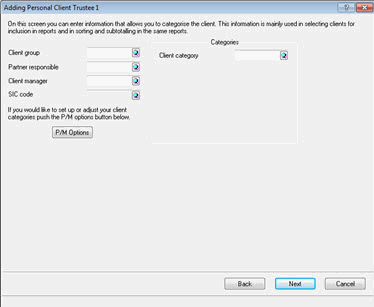
The following screen displays.
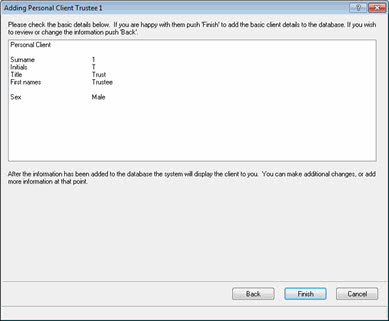
The following screen displays.
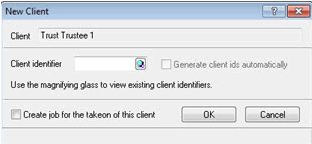
The following screen displays.
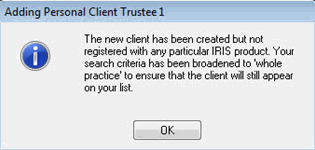
The following screen displays.
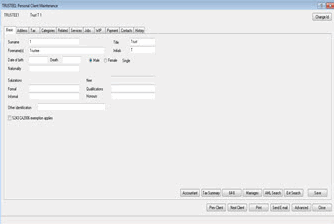
The following screen displays.
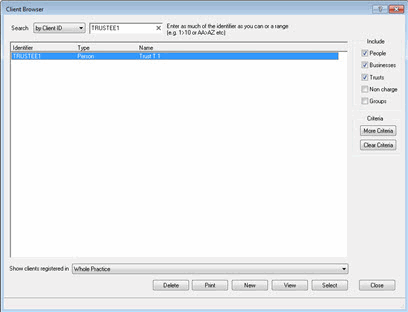
The following screen displays.
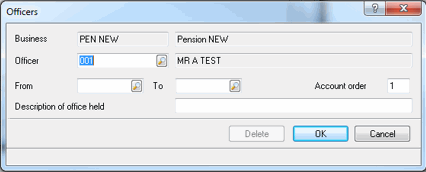
The following screen displays.
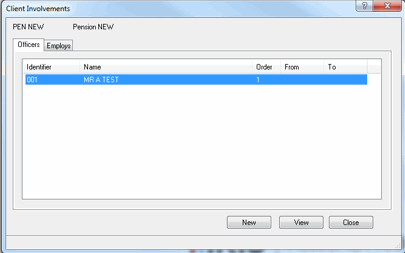
New - if additional officers are required; follow process from Step 4.
View - if you would like to view the Officer information.
Close - to exit the Client Involvements screen.
The standard import map is available to view from Setup | Import Map |Select Posting ‘entry to entry’ tab and highlight Enhanced Conversion O – Pensions.
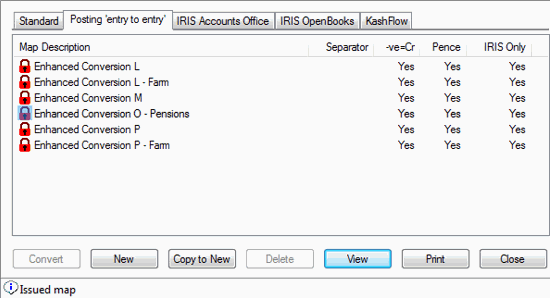
Users can click to View or Print a list showing which accounts in PEN# are being mapped to which accounts in EPEN as listed below in the standard Import Map.
PEN# Chart |
EPEN Chart |
FUND ACCOUNT |
FUND ACCOUNT |
Employers (2-6) |
Employers contributions (1-10) |
Members (7-11) |
Employee contributions (15-19) |
Transfer In (12-16) |
Transfer In (25-29) |
Other Income (17-21) |
Other Income (35-39) |
Benefits (22- 31) |
Benefits paid or payable (45-54) |
Payments to leavers etc (32-41) |
Payments to leavers etc (61-70) |
Other payments (42-51) |
Other payments (75-84) |
Administration expenses ( 52-70) |
Administrative expenses (91-109) |
Investment income (71-79) |
Investment income (201-215) |
Irrecoverable tax (80) |
Irrecoverable tax (221) |
Change in Market value (81-83) |
Change in Market value (231-233) |
Taxation ( 84-86) |
Taxation (241-243) |
Investment management expenses ( 87-94) |
Investment management expenses (301-308) |
|
|
Statement of Net Assets |
Statement of Net Assets |
Investments allocated to members |
|
Fixed interest securities (500-503) |
Fixed interest securities (800-803) |
Equities (504-507) |
Equities (804-807) |
Index-linked securities (508-511) |
Index-linked securities (808-811) |
Pooled investment vehicles ( 512-515) |
Pooled investment vehicles ( 812-815) |
Unit Trusts (516-519) |
Unit Trusts (816-819) |
Property (520-523) |
Property (824-827) |
Insurance policies (524-527) |
Insurance policies (828-831) |
Loans (528 - 531) |
Loans (832 - 835) |
Other investments (532-535) |
Other investments (836-839) |
Cash deposits and cash in hand (536-539) |
Cash deposits and cash in hand (844-847) |
Other investment balances (540-543) |
Other investment balances (848-851) |
AVC funds (544 -547) |
AVC funds ( 840-843) |
|
|
Investments not allocated to members |
|
Fixed interest securities (548-551) |
Fixed interest securities (852-855) |
Equities (552-555) |
Equities (856-859) |
Index-linked securities (556-559) |
Index-linked securities (860-863) |
PIV – Managed funds (560-563) |
PIV – Managed funds (864-867) |
PIV - Unit Trusts (564-567) |
PIV - Unit Trusts (868-871) |
Property (568-571) |
Property (876-879) |
Insurance policies (572-575) |
Insurance policies (880-883) |
Loans (576-579) |
Loans (884-887) |
Other investments (580-583) |
Other investments (888-891) |
Cash deposits and cash in hand (584-587) |
Cash deposits and cash in hand (896-899) |
Other investment balances (588-591) |
Other investment balances (900-903) |
AVC funds (592-595) |
AVC funds (892-895) |
|
|
Assets for own use (596-607) |
Assets for own use (650-651) |
Borrowings ( 608-647) |
Borrowings (660-661) |
Current Assets ( 648-667) |
Current Assets (670-679) |
VAT (1) |
VAT ( 690) |
Current Liabilities (668-679) |
Current Liabilities (700-709) |
Derivatives allocated to members (700 – 703) |
Derivatives allocated to members (820-823) |
Derivatives not allocated to members (704-707) |
Derivatives not allocated to members (872-875) |
|
|
Fund Account (680) |
Fund Account (730) |
After viewing the import map, if you would like to make amendments click Copy to New.
Highlight the new import map and select the Change option. You can now add to or delete/amend the accounts listed.
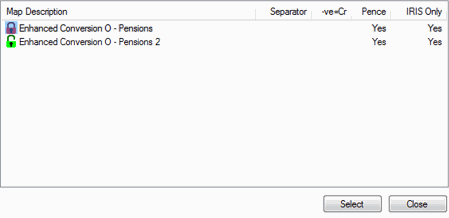
During the conversion of a client, amended import maps can be selected
from the Import Map screen.
Having clicked Close to the Business Client Maintenance screen the following screen displays.
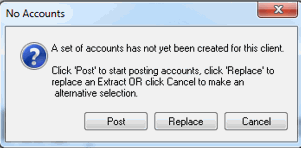
If the No Accounts dialog doesn't
display, from the Accounts Production toolbar, click the  option.
Alternatively, click Posting |
New
Users must be on version 11.9 to select the EPEN Enhanced Pension Chart
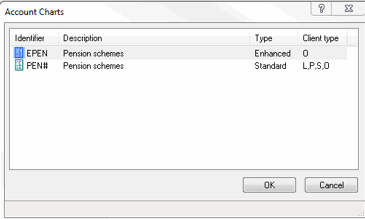
The following screen displays.
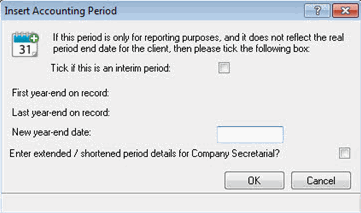
The following screen displays.
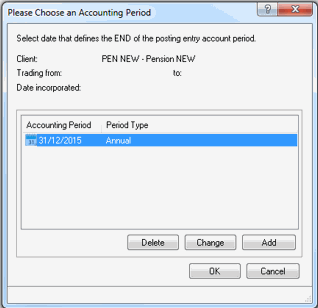
In the Description field enter a description for the post file.
Enter a Previous account end date or alternatively select OR use date incorporated. If entering a previous account period end date please go to Step 6. If a tick has been placed in OR use date incorporated, go to Step 11.
Click the magnifying glass next to Previous account period end date.
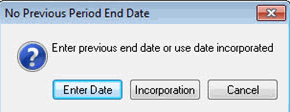
The following screen displays.
Enter Date to enter a previous account end date, go to Step 8.
Incorporation to use the date of incorporation, got to Step 11.
Cancel to exit the screen.
The following screen displays.
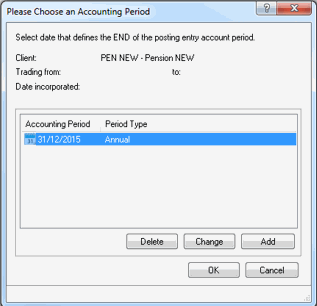
The following screen displays.
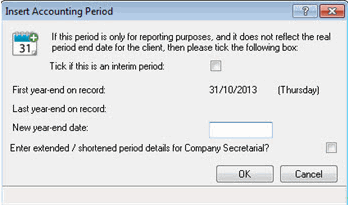
The following screen displays.
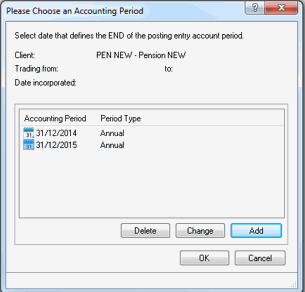
The following screen displays.
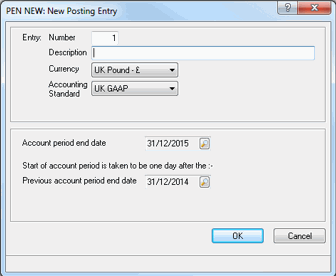
The following screen displays.
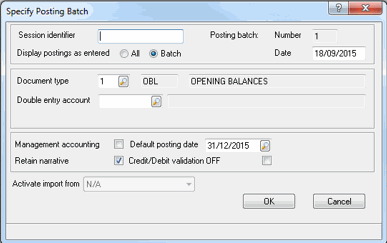
The following screen displays.
Highlight the relevant document type.
Click Select and OK.
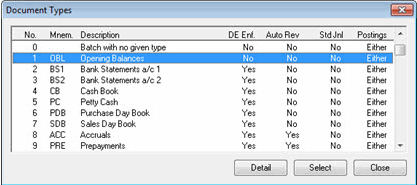
The following screen displays.
In the Amount field enter the amount.
Click the magnifying glass next to the Account field. Alternatively, manually enter the account code and then go to Step 18.
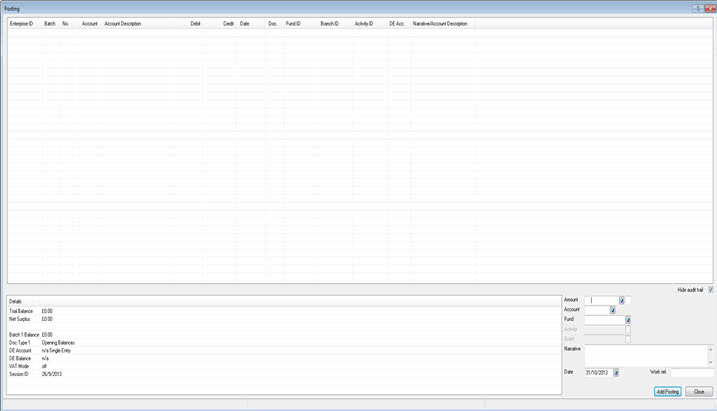
The following screen displays.
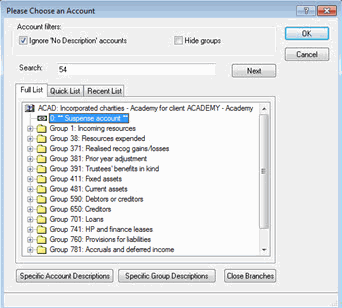
The Posting screen displays.
Click the magnifying glass next to the Fund field.
In the Narrative field enter a narrative if required.
Click Add Posting.
If further postings are required follow Steps 15-21. If no further postings are required, click Close to exit the posting screen.
 option.
The following screen displays.
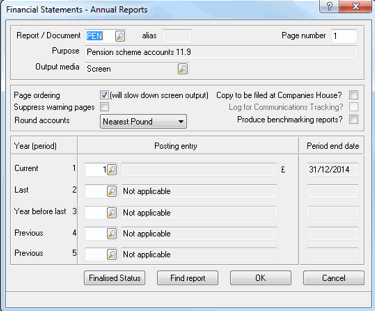
Ensure the relevant Report/Document type is entered (PEN).
Ensure the correct post entry number has been entered in the Current field and click OK.
