|
 |
|
|
This option is available within Accounts Production, Company Secretarial and Company Formations modules.
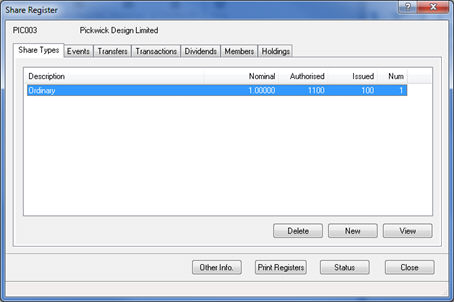
From the menu bar select Edit
| Share Register
The following screen displays.
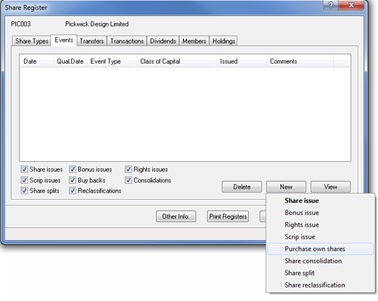
Select the Events Tab.
From the Events Tab
select New.
From the drop-down option select Purchase own shares.
This option will generate a Form SH03.
The following screen displays.
Select the Share type from the Share Type drop-down
list.
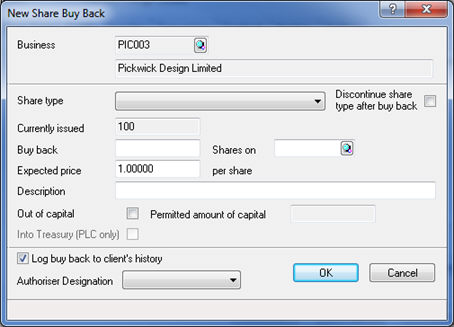
The Currently Issued field and
Expected Price field will automatically be populated.
Optional, select the discontinued
box (This option will discontinue the share after the Purchase of
own shares event).
Complete the Buy back field.
Click in to the Description field, which will automatically populate the information.
Enter the required date in the Shares on field.
Select the Out of capital option.
In the Permitted amount of capital field enter the amount of capital that was used in the share buy back.
This field is activated when the Out of capital option is selected.
Select the Log buy back to client’s history.
This ensures the Companies House Form SH03 is completed with the specific details.
Select the person authorising the document from the Authoriser Designation drop-down menu.
Click OK.
The following screen displays.
Highlight the Shareholder
and then double-click to select Shareholder.
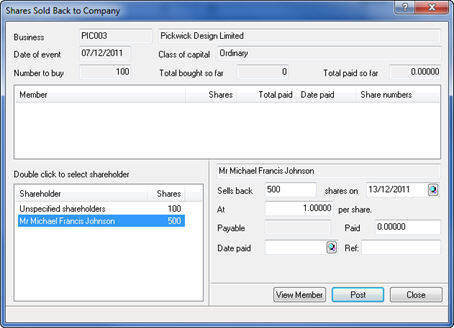
Sell back and At field will be atomically completed with the shareholders total holdings, however the value can be changed according to the specification.
Enter the number of shares sold back to the company in the Sell back field.
Enter the date of the transaction between shareholder and company in the Shares on field.
Enter
the price per share that the shares were sold back to the company
at in the At field.
The Payable field displays the total price to be paid by the company for the purchase of shares, the number of shares multiplied by the price per share. This field cannot be amended.
Enter the actual value paid by the Company for the shares in the Paid field.
Complete the Date Paid field.
Optional to complete the Ref: field (by using personalised characters) to populate this field.
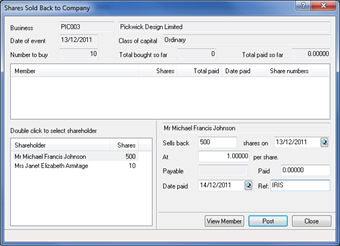
Select Post.
If all shares from the share holdings are sold follow step 25.
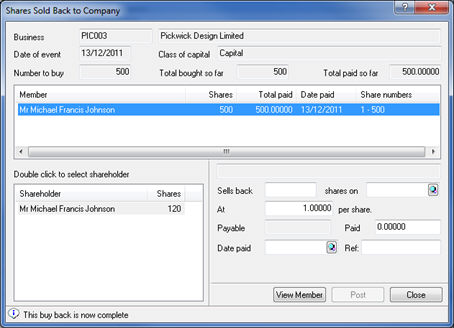
The following screen displays.
This screen displays the shares
being bought back by the Company after a purchase of own shares event. IRIS
will automatically select random share(s) to be disposed of; however
this screen allows a specific choice of share(s).
To amend specific shares follow steps 21 to 26. If not applicable go
to step 27.
Click into the To take field and specify the amount of shares to be taken.
Enter the appropriate From No. and To No. to be disposed of.
Click OK to accept the changes, as the final share numbers being disposed of.
Click Revert to restore the information back to the system choice.
Click System
Choice to accept the stated shares as those that are being
disposed.

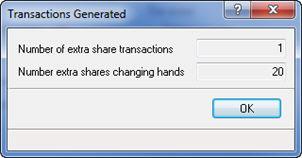
The following screen displays.
The transaction has now been added in the record box. More information can be found by clicking the ? On the top right hand side of the Sold Back to Company screen.
Click
Close.
The following screen displays.
Click OK.
Click Close.