 |
 |
|
|
This topic explains how to create clients within Accounts Production.
There are two methods available when setting up a client, simple and Standard:
Simple - Quick Launch toolbar New Client | Simple option is intended for quick client entry.
Standard
- The Menu bar Client | New
(standard) and Quicklaunch toolbar New
Client | Standard can be used for more
detailed data entry.
Log on to Accounts Production.
From the Quick Launch toolbar,
click the New Client down
arrow and select Simple.
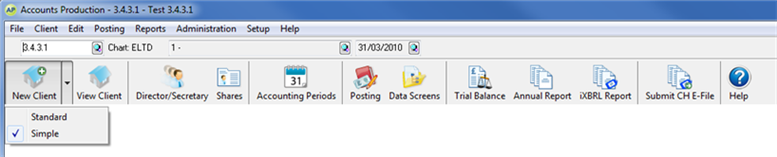
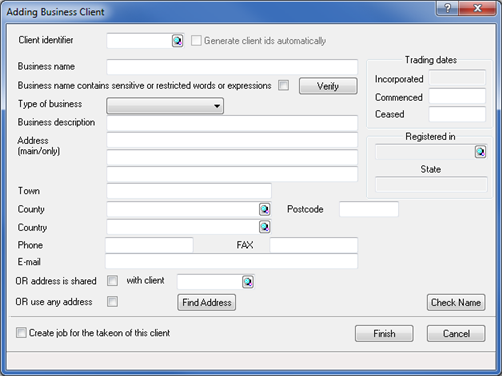
The following screen displays.
Minimum
fields to be completed are Client
Identifier, Business Name
and Type of Business and click
Finish.
The following screen displays.
Click Import
to request and import appointments from Companies House or New
and enter Involvements as described. Click Cancel
if no director is to be entered at this time.
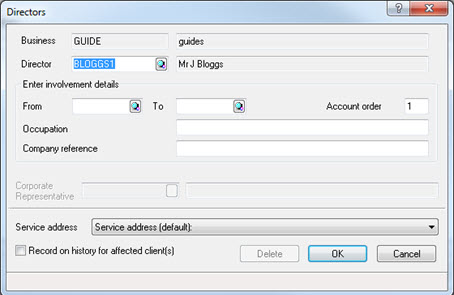
If New is clicked the following screen displays.
Click the magnifying glass next to the Director field.

The following screen displays.
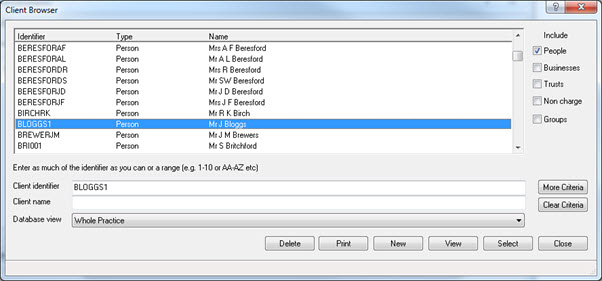
Click New to create a new person on the database. If the person exists within the Client Browser screen move on to step 12.
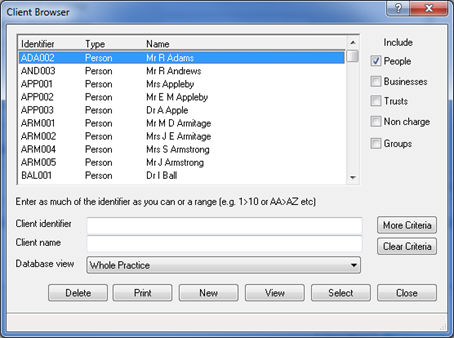
The following screen displays.
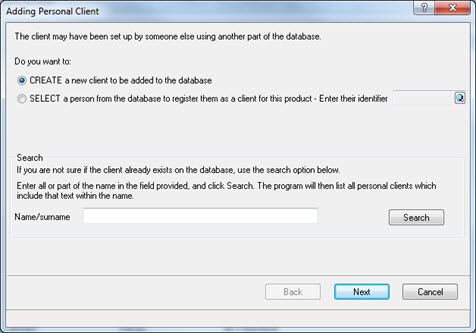
Users can click the SELECT option or search function to check if the client already exists on the database
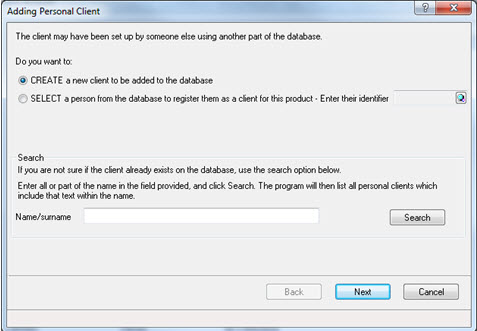
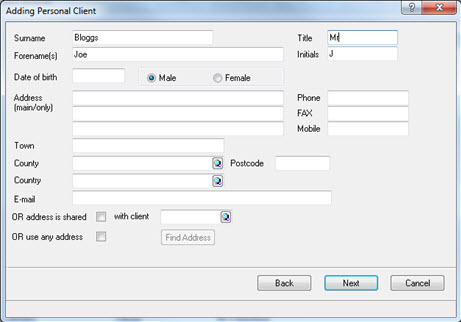
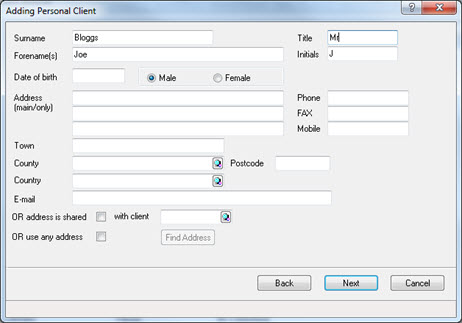
The following screen displays.
Complete the details on the Add Personal Client screen. Minimum fields to be completed are Surname, Forename(s) and Title.
Click Next.
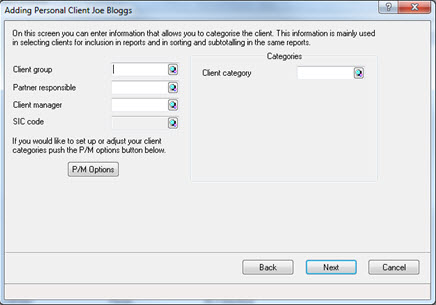
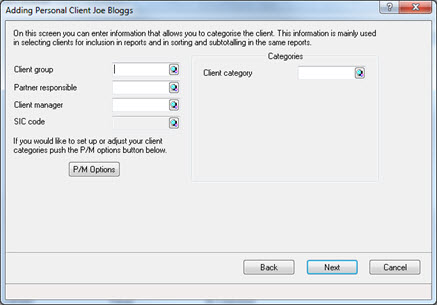
The following screen displays.
The above screen can be used to categorise clients according to Partners, Managers, and so on. This does not require any data.
The following screen displays.
The following screen displays.
The following screen displays.

The following screen displays.
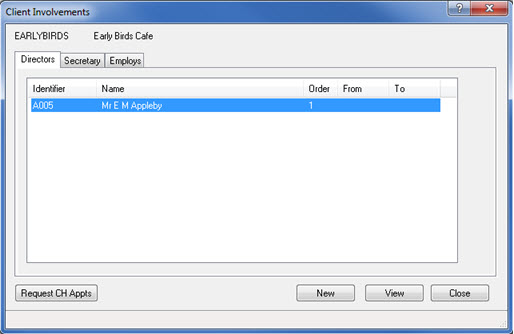
The following screen displays.
Click New to add more Directors or click View to make any necessary amendments.
The following screen displays.
You are now able to begin posting your accounts.
Select Client | New, or from the Quick Launch toolbar, click the arrow next to New Client | Standard
The following screen displays.
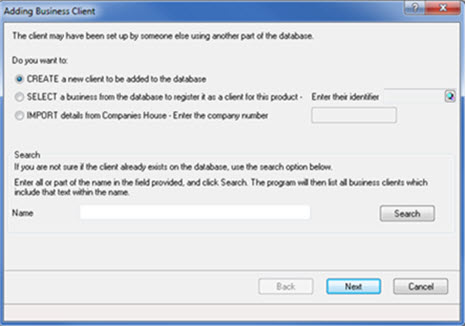
Select the CREATE a new client to be added to the database option and click Next.
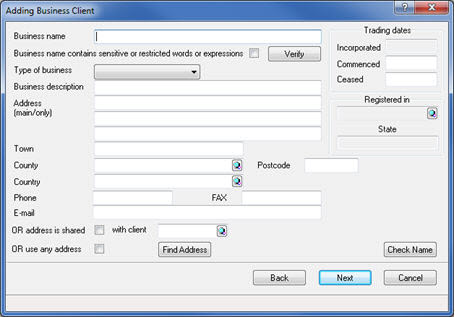
The following screen displays.
Minimum fields to be completed are, Client Identifier, Business Name and Type of business.
Click Next.
The following screen displays.
This screen can be used to categorise clients according to Partners, Managers, and so on. This does not need to contain any data.
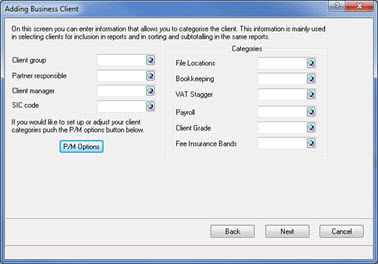
The following screen displays.
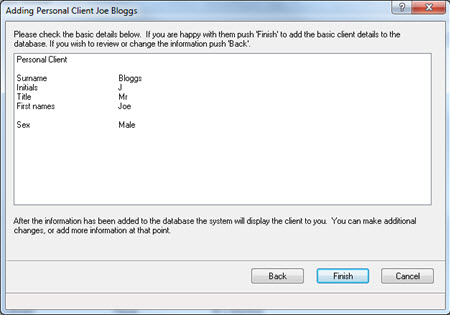
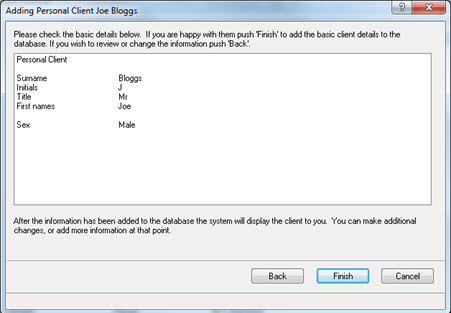
Review the data entered. Click Finish or click Back to amend the details.
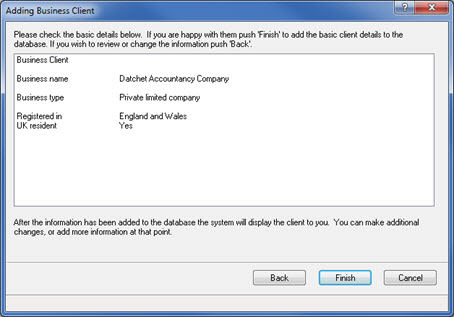
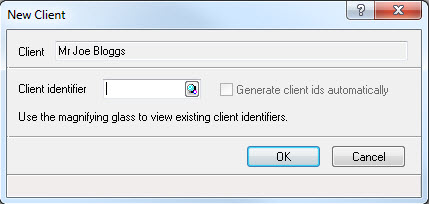
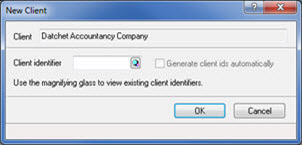
The following screen displays.
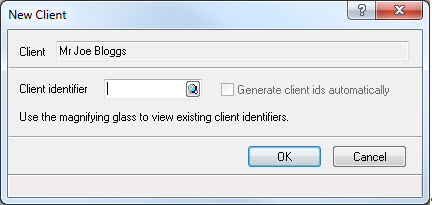
Enter a Client Identifier reference for the client (maximum of 10 characters) and click OK.
The following screen displays.
The following screen displays.
Click Import to request and import appointments from Companies House or New and enter Involvements as described. Click Cancel if no director is to be entered at this time.

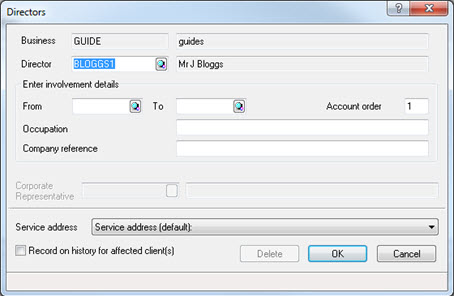
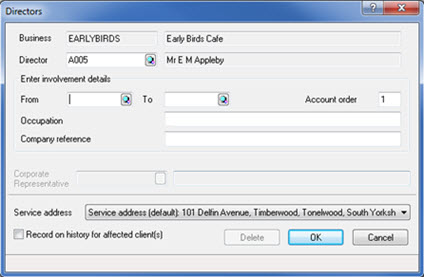
If New is selected the Directors screen displays.
Click the magnifying glass next to the Director Field.
The following screen displays.
Click New to create a new person on the database, alternatively if the person exists within the Client Browser screen go to step 18.

The following screen displays.
Select the CREATE a new client to be added to the database option and click Next.
The following screen displays.
Minimum fields to be completed are, Surname, Forename(s) and Title then click Next.
The following screen displays.
The above screen can be used to categorise clients according to Partners, Managers, and so on. This does not require any data.
Click Next.
The following screen displays.
Review the data entered on the above screen. Click Finish to proceed or click Back to amend the details.
The following screen displays.
Enter a Client Identifier reference for the client (maximum of 10 characters) and click OK.
The following screen displays.
Highlight the relevant person and click Select.
The following screen displays.
The Account Order Number will be automatically filled in. Enter a From date if required and click OK.
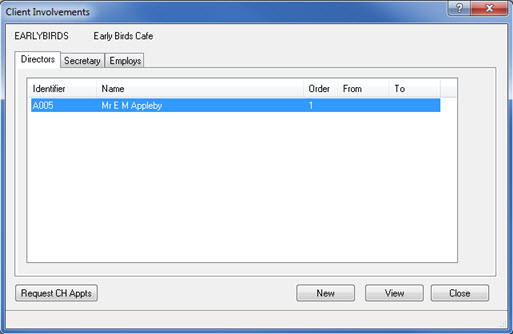
The following screen displays.
Click New to add more Directors or click View to make any necessary amendments.
The following screen displays.
Users are now able to begin posting for the accounts.
