 |
 |
|
|
Consolidated accounts can be produced for groups that consist of a parent company and one or more subsidiary companies. It is also possible to select a group within a group.
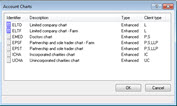
The parent company and its subsidiaries should be set up as clients in IRIS Accounts Production in the normal way before attempting consolidation. All group undertakings (parent and subsidiaries) must be set up as limited companies and must be based on enhanced charts of accounts, for example, ELTD.
Any group undertakings that are currently based on non-enhanced charts, for example, IRIS Solution Original must be converted to enhanced charts using the chart conversion procedure, before consolidation.
Please see Enhanced Chart Conversion Quick Guide for more help on the conversion procedure.
It is recommended that all undertakings within the same group are based on the same chart of accounts although this is not compulsory.
Click the links below to jump to a particular section:
Step 1 - Creating a Group Client
Step 2 - Posting Consolidation Adjustments
Step 3 - Running Reports
To create a group client within the IRIS database:
From the Accounts Production toolbar select, Client | New Group
Enter an (unique) Identifier and Group Name description for the group.
Click Add | Add ParentPTP - How to produce Consolidated Accounts
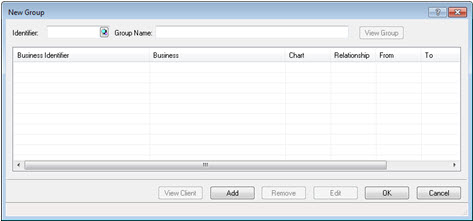
The following screen displays.
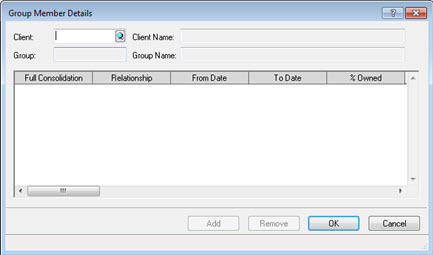
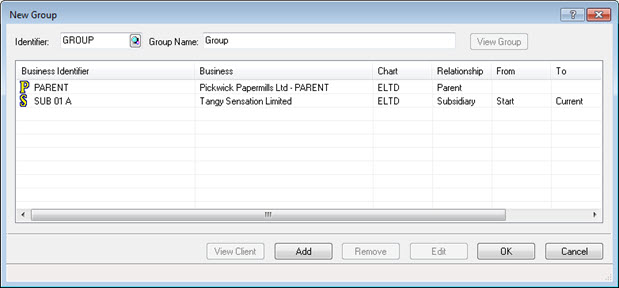
Enter the identifier of the business that is the parent undertaking, or click the magnifying glass to bring up the Client Browser to select a client. If the business does not exist click New to create the parent undertaking as a new client on the database.
The parent undertaking must be a limited company based on one of the enhanced charts of accounts.
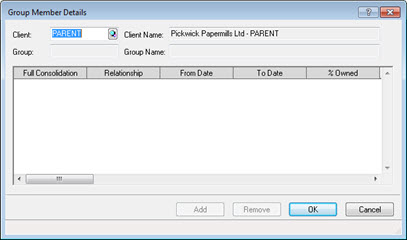
The following screen displays.
Click OK.
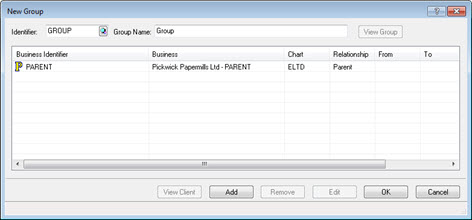
The following screen displays.
Click Add, select Group Member from the list.
The following screen displays.
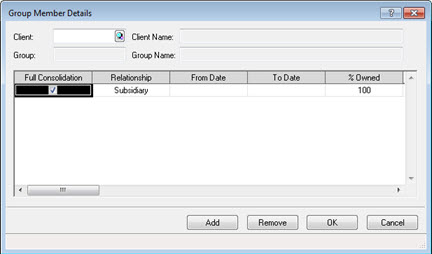
Enter the identifier of the business that is to be a group undertaking (subsidiary), or click the magnifying glass to bring up the Client Browser to select a client. If the business does not exist click New to create the group undertaking as a new client on the database.
All group undertakings must be limited companies based on one of the enhanced charts of accounts.
IRIS will not time apportion postings made within the group undertakings based on these dates.
To attach a group undertaking but not include it within the consolidated accounts, de-select the Full Consolidation option.
Enter the % Owned as appropriate and click OK.
The following screen displays.
The undertaking’s status within the group is then displayed. Click Add create another Group Member or Sub Group, otherwise click OK.
The following screen displays.
The group client must be based on an enhanced chart of accounts; standard charts such as IRIS Solution Original cannot be used.
The group client has now been created and
its current structure will be displayed in a Group
Browser screen:

Further adjustments to the group’s structure can now be made by adding, removing or amending Undertakings.
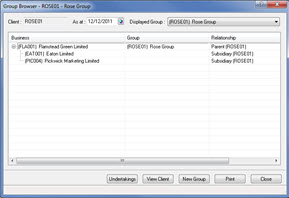
Click Close.
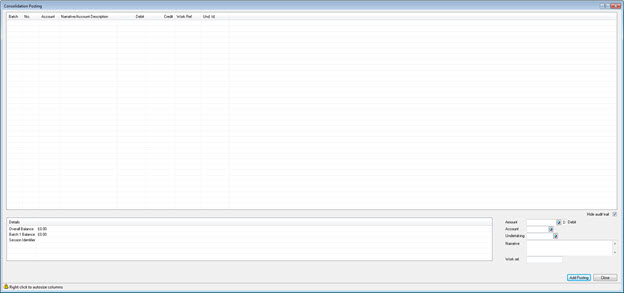
Consolidation adjustments should be posted into the group’s post file.
Consolidation adjustments should be posted within the Group company. Consolidated accounts cannot be produced until a group post file has been created.
To post the group’s consolidation adjustments:
The following screen displays.
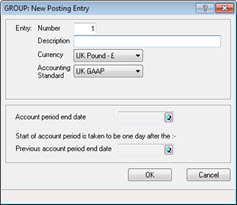
The account period end dates for the group client should correspond with the account period end dates for the group undertakings. Accounts Production will consolidate entries from each undertaking with the same account period end date.
The following screen displays.

The following screen displays.
There are no fields for document types or double-entry accounts because consolidation adjustments are all posted as single-sided journals.
The Undertaking field is compulsory, however, its only purpose is to preserve the audit trail.
There must be a group posting entry for each of the current, comparative and pre-comparative years (where they exist); consolidation adjustments are required for 3 years.
The following screen displays.
The following screen displays.
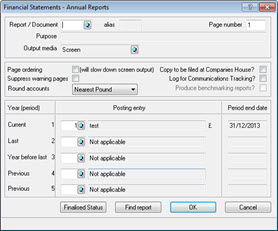
Click the magnifying glass beside the Report/Document field to select the appropriate report. Alternatively manually enter the report mnemonic.
Click OK.
IRIS Accounts Production will
consolidate the posting entries for all group undertakings, modify
them by the group’s consolidation adjustments and produce the consolidated
figures. The group’s data screens should also be completed to provide
any additional information required for group disclosures.
Where the account period end in one of the subsidiaries differs from
the period end in the group, a message displays, Some
account periods do not match for X Limited (being the name
of the company which does not match) Do
you require notification? If Yes
is selected, another message displays showing the dates which differ.
Click OK to run the report.